
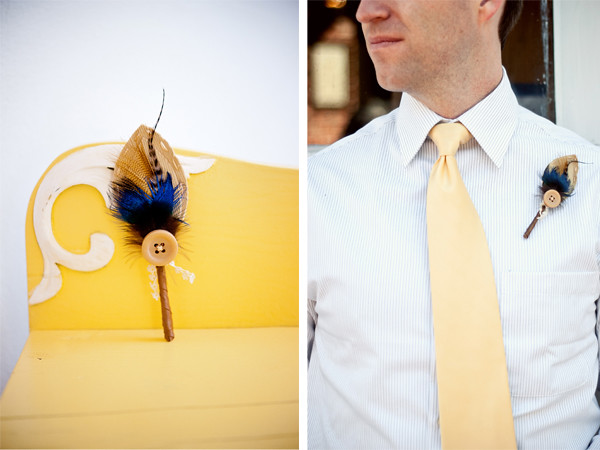
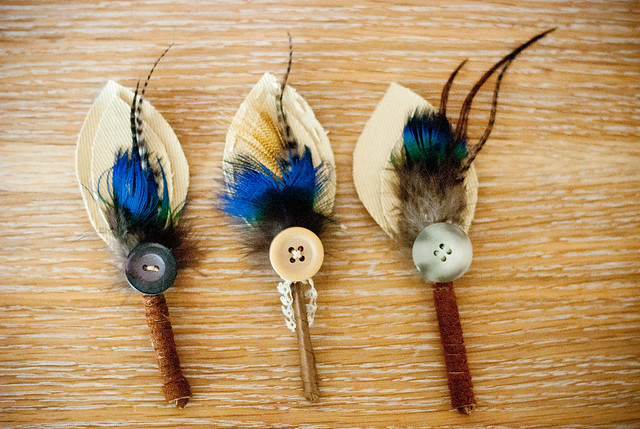
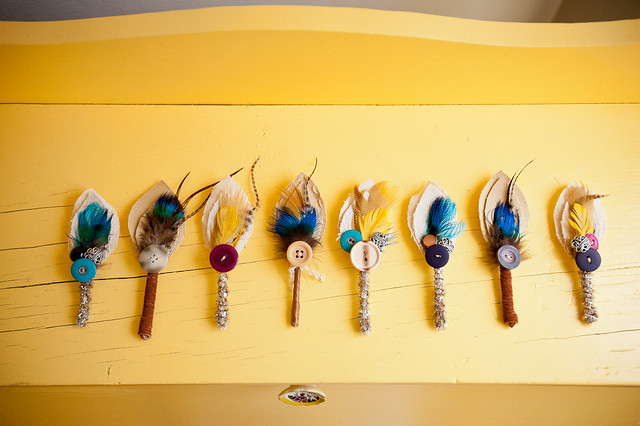
It has been forever since I've posted about anything even remotely creative around here and so I've been chomping at the bit to unveil this latest little project... My dear creative, free-spirited friend Amy just married an equally awesome boy named D. She is hands down one of my craftiest friends (oh my, just wait til you see her handmade doily wedding dress!) I was completely honored (and crazy-nervous) when she asked me to make boutonnieres for all of the wedding boys, using things like feathers and non-living notions. The result was a pretty eclectic mix of things that suited her bright, beautiful vintage wedding quite well, if I do say so myself.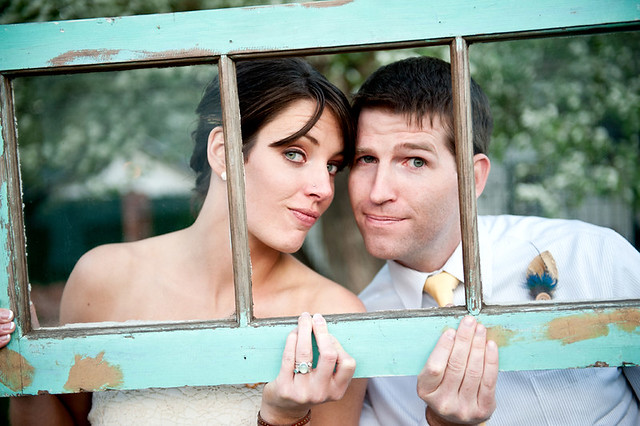
photos: yours truly
based on this great tutorial!
Showing posts with label swell crafts. Show all posts
Showing posts with label swell crafts. Show all posts
6.09.2011
diy wedding boutonnieres



4.22.2011
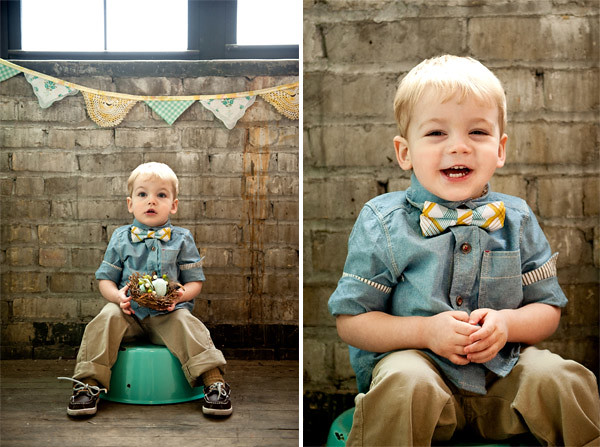
diy little boy bowtie:just in time for easter!
Hi friends! Am hoping your weekend is rich with candy-filled baskets, springtime cheer, and that your heart is blessed by the joy of Jesus living!! His love for the world, his death & resurrection is the reason we celebrate this awesome holiday. Thanks to his grace, there is nothing you can do to make God love you less! Happy Easter!!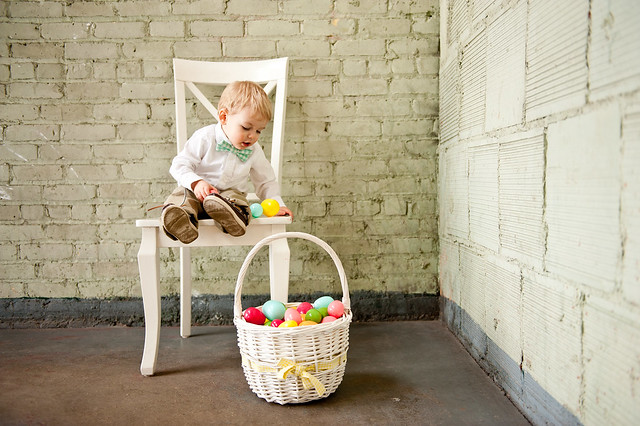
Supplies:
must have
fabric (6x20" strip)
interfacing (medium/heavy) (4x15" strip) although not 100% vital, this provides great structure to the bow tie
Velcro (1")
scissors
sewing machine
needle + thread
iron
measuring tape
nice to have:
pins
pencil
fabric marker
rotary cutter + mat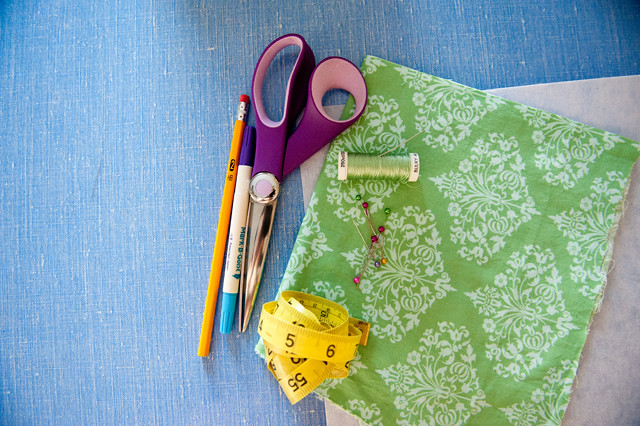
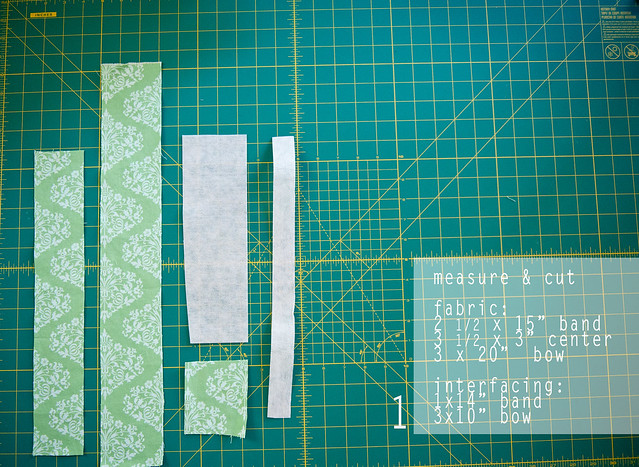
2 1/2 x 15" for band
3 1/2 x 3" for center
3 x 20" for bow
Cut your interfacing into the following dimensions:
1 x 14" for band
3 x 10" for bow
Step 2: Begin your bow!
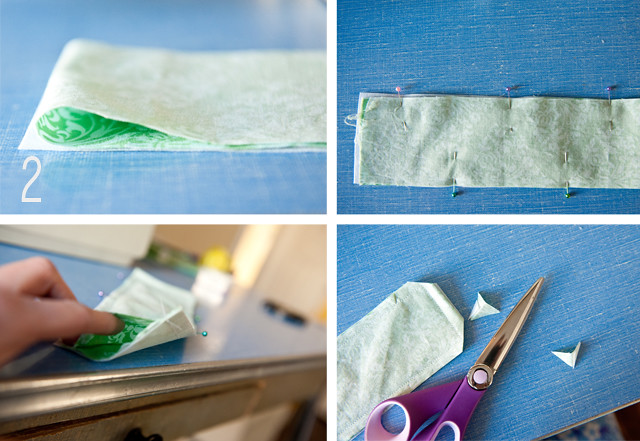
Fold your 3x20" piece of fabric in half the short way (wrong sides facing out) and place 3x10" piece of interfacing on top. Pin these three layers together as shown. Next straight stitch along three edges of the rectangle. Leave one of the short ends open for turning.
Step 3: Turn your bow inside out; don't worry about the unfinished edge. Press flat. Using your measuring tape and fabric marker, mark the center of the rectangle. Then fold both ends in toward the middle.
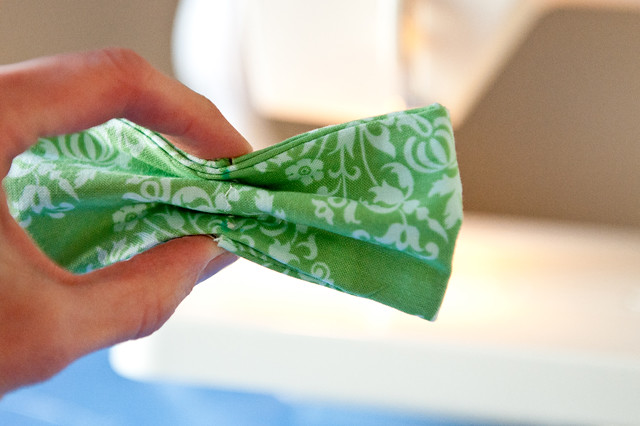
Step 4: Pin the edges together, then make one big fat zig-zag stitch down the center. You may need to adjust your machine's tension, as this is a little chunky.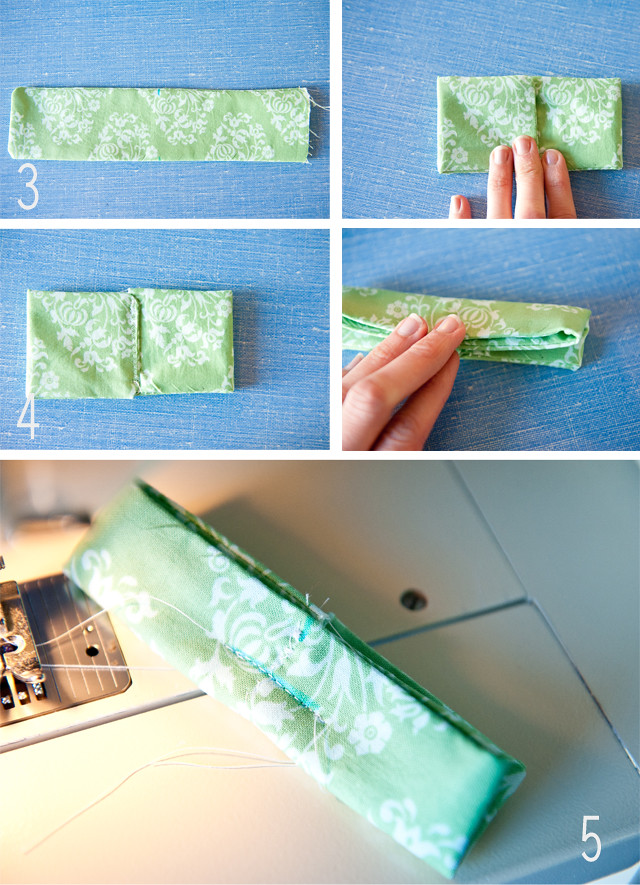
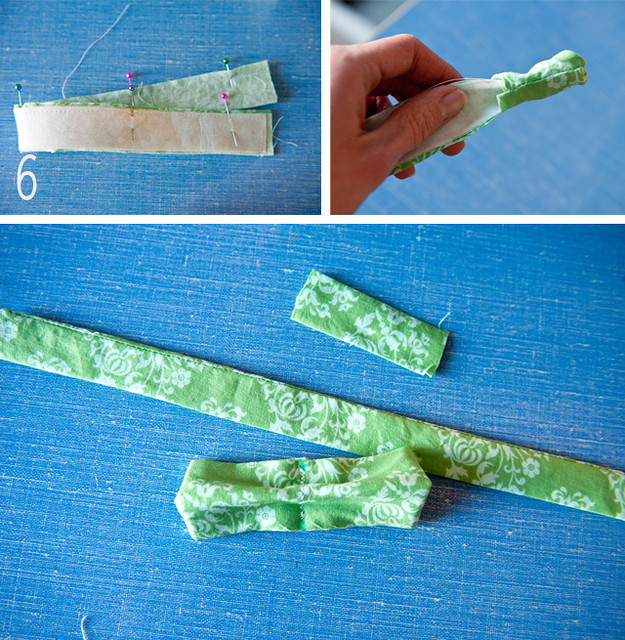
Take your 2.5x15" strip of fabric, fold it in half the long way (to make the strip even narrower, wrong sides facing out) and place the 1x14" piece on top. Pin the three layers together. Sew a 3/8" seam along the long unfolded side of fabric and along one short end. (I.e. just sew 2 sides!) You're ready to flip your fabric into a tube. This can be a little bit tedious, but trust me, it's worth it in the end! Use a pencil with a good eraser to help prod your fabric along. Press flat.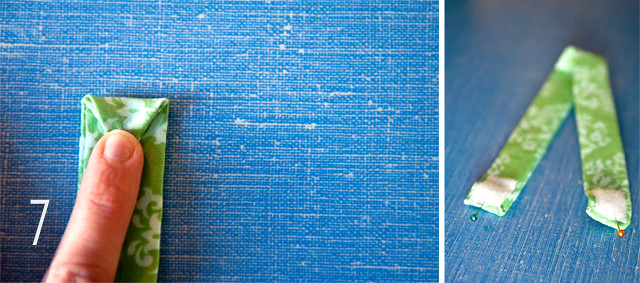
To address that pesky unfinished edge, we will simply hide it underneath the Velcro: Tuck in 2 sides of fabric and fold the edge down into a point (like an envelope). Simply pin a piece of velcro to the top and sew around its border. Do the same thing on the opposite end (and on the opposite side of band). No need to get fancy with the envelope technique on this side, as it is already finished off nicely.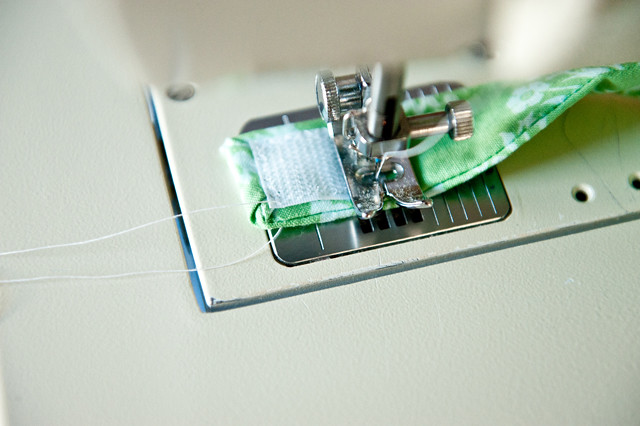
Fold your 3.5x3" fabric in half the long way. (No interfacing necessary for this one!) Pin and sew a seam along 2 unfolded edges. Turn & press. It's ok to leave the open edge unfinished. We will tuck it in and sew it in the next step.
The moment we've all been waiting for! Use your fabric marker to draw a mark at the center of your band, then line it up with the center of your bow. Next wrap the center piece around the middle of the bow. Turn all 3 pieces upside down, pull the center piece to your desired tightness, and fold in its unfinished edge. Use your needle and thread to manually whip stitch this piece in place. (Or for instant gratification: whip out your hot glue gun!)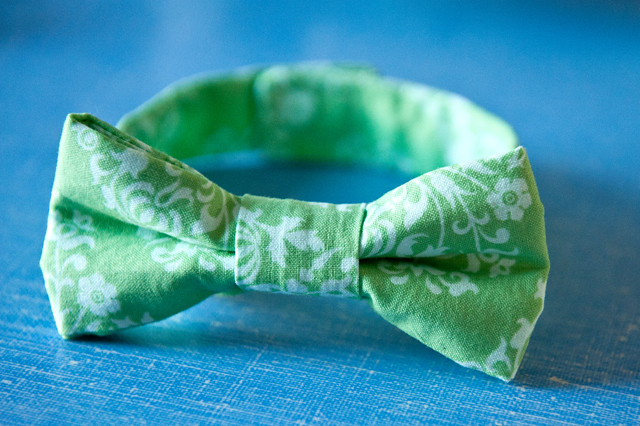
3.31.2011
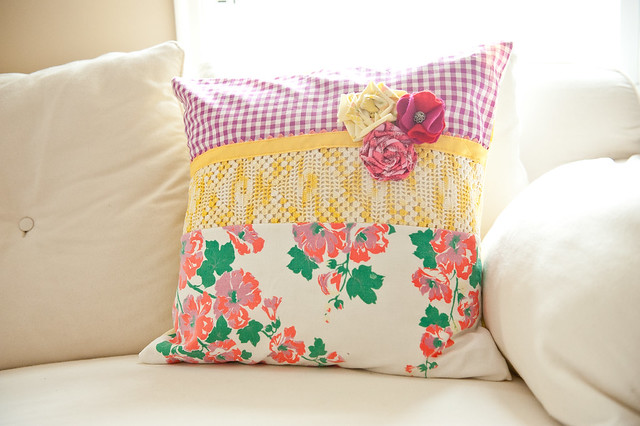
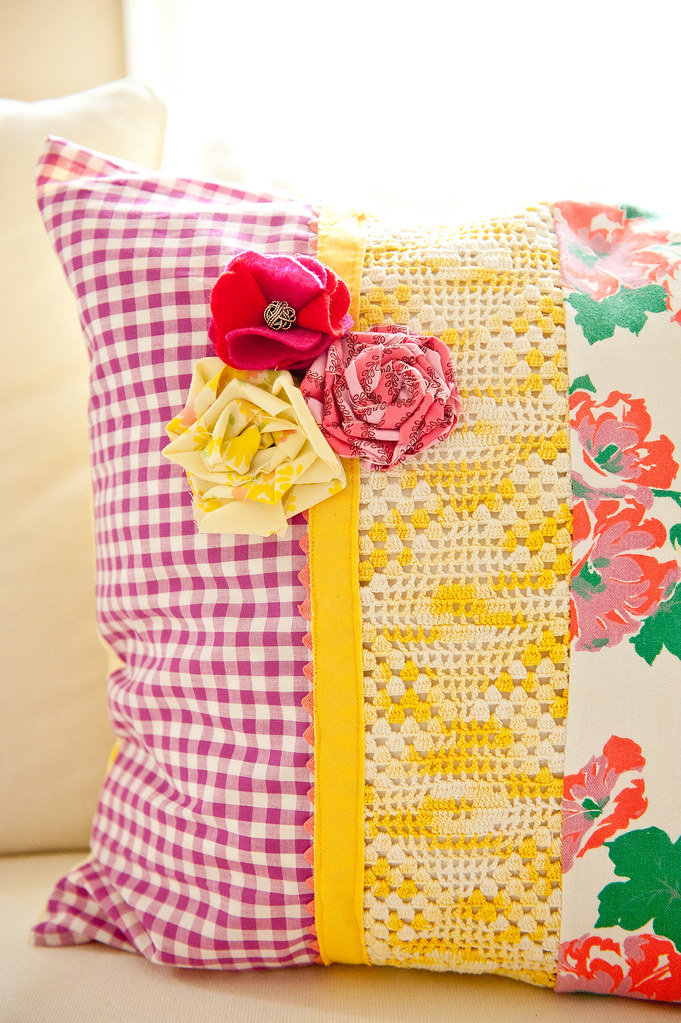
vintagey pillow

3.20.2011
diy recycled crayons
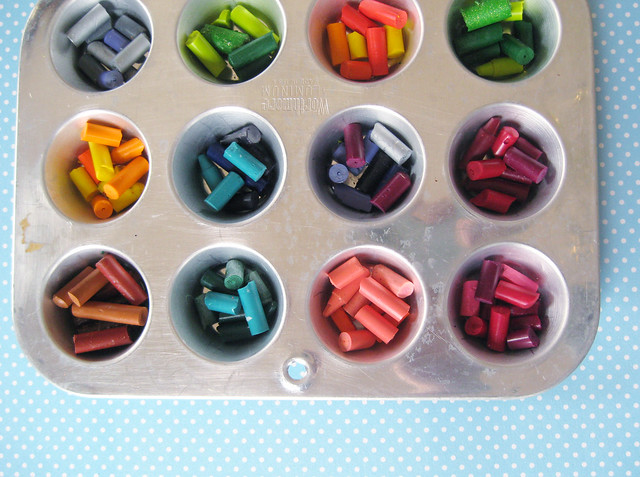
So by now you're dying to melt your own batch, right?
Here's how:
Supplies:
muffin tin (we used a mini circle size, but how fun would it be to make these heart, cloud, or flower shaped!?) and no, the pan did not get ruined. it's just a little wax!
crayons of all colors and kinds
oven
freezer
1. Unwrap & break crayons, then plop them straight into the tin. I was pretty conservative about mixing colors, but there are no rules here. go crazy!
2. Fill tins about 1/2 full with crayon pieces. Pre-heat oven to 300 degrees.
3. Bake for 15-20 minutes or until wax is completely melted. Allow to cool completely. Hooray--you've got crayons that look something like this: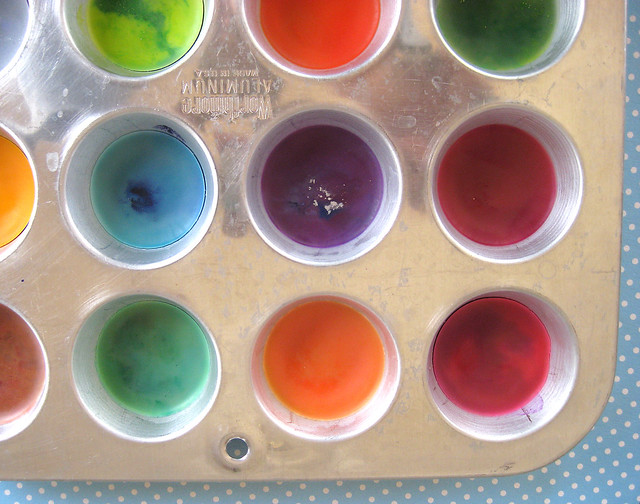
5. Admire your pretty results and snap a quick pic before sharing them with busy little hands.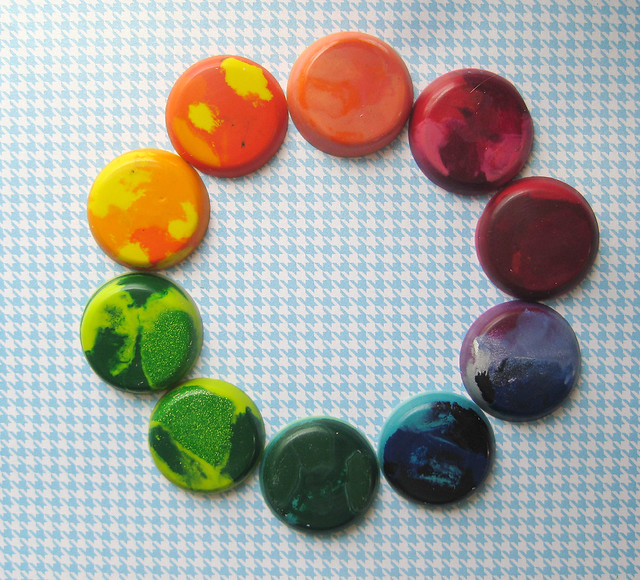
2.06.2011
felt flower headband
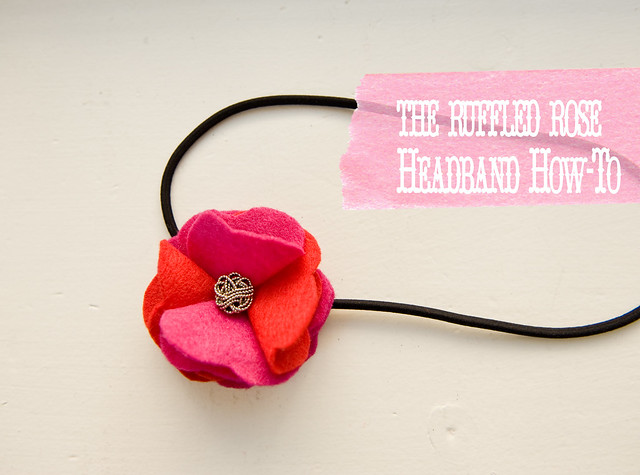
In other news, my weekend was awesome, but went a little differently than I'd expected...The bad news is I didn't get any painting or housework done, but the good news is that we had tons of fun catching up with friends, I tackled two sewing projects, and best of all, on Saturday I got a new baby niece named Kirsa!! I am so anxious to meet her--I haven't even seen pictures yet! What was awesome about your weekend? (Packer fans need not respond.)
2.03.2011
paper heart garland

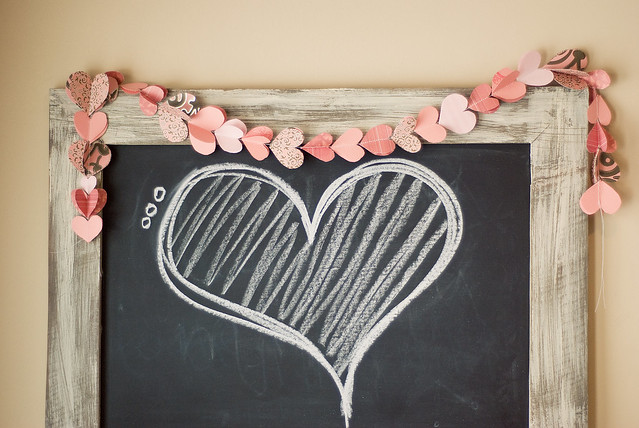
The other day I cut up a pile of paper hearts, folded them in half, and sewed them back to back for a fun little garland with tons of dimension. Am wishing I'd made 10x more, because it's just so darn cute draped on top of my kitchen chalkboard.
Can you believe it's Friday again? I am double checking my calendar in disbelief. Really excited for all that this weekend has in store: a little painting, a church craft night, a Super Bowl party, of course some cuddle time with my two cute boys, and an antiquing date with this sweet lady (who btw, is giving away a copy of One Thousand Gifts by Anna Voskamp on her blog this week! Hop over to enter!).
What are your plans?
*****
And the winner of the Independent Wedding Fair tickets:
Congrats, Marlys! Please email me at swell.life(at)gmail(dot)com so I can share the details!
Congrats, Marlys! Please email me at swell.life(at)gmail(dot)com so I can share the details!
1.27.2011
heart banner
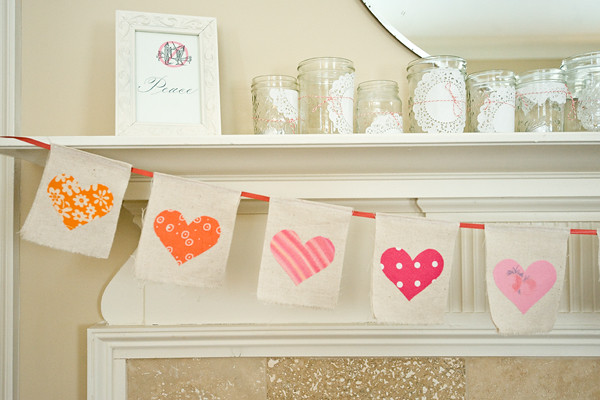
Hi there! I don't know about you, but winter is really beginning to wear on me. This one has been especially long and brutal! A few late winter/Valentine's Day crafts are just what I needed to cozy in, warm up my hands, and get us through. I finally made a little heart banner for our mantel. We're closing in on February, one of my favorite months and V-day is less than 3 weeks away!


1.16.2011
sewed a tote!
I had the best week. I was spoiled with not one, not two, but three (3!) girly dates. Not only that, but 2 little outings with my boys. AND a trip to Trader Joes. Wow. I could get used to this. Guess that's what happens when the temperature is above 10 degrees for a week straight. We've been painting the town.
Tuesday night was my first ever book club experience. I'd been wanting to join my friend's club all year, but kept having schedule conflicts. Am so glad I went this week because the discussion adds a whole new layer to the {already} good read. It's always so good to do things in community. We read the Art of Racing in the Rain. I thought I would hate it--because I don't really like dogs or race cars....But I loved it. Loved it you guys.
Wednesday afternoon coffee with one of my sweet college roommates. I'm happy to have caught her before her world travels. She is on her way to Jordan & Israel as we speak. I so want to go there someday.
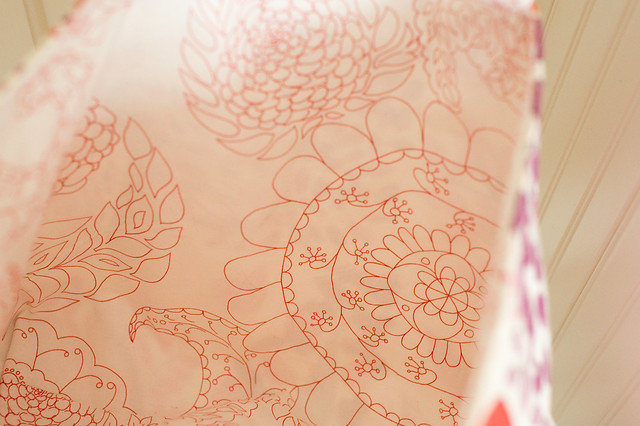
And Saturday I ran off to my friend Brie's sewing class. We made these really simple, handy, AND reversible tote bags. If you're local, she's teaching the exact same class again in February at Darn.Knit.Anyway in Stillwater, MN. She's an amazing crafter and teacher. I've officially been bit by the bag-making bug. I want to make 1,000 more, with crazy variations like pockets and pleats. I even learned a new fabric flower technique! :)
P.S. Does anyone know what fabrics these are? Wish I'd paid closer attention. Guess I was too smitten.

12.22.2010
eli's crayon wallet
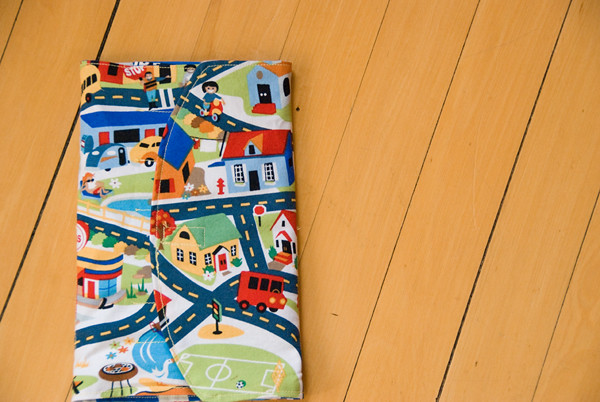
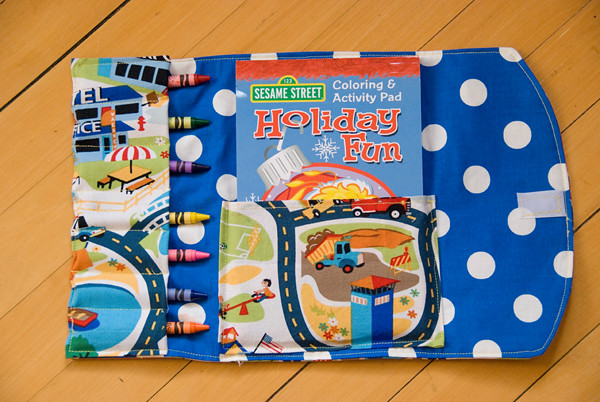
Hello and happy day! As of 7:00pm I am officially off of work until New Year's Eve. Pretty impressive for a nurse to swing such a schedule, don't you think!? Sweet freedom. It's such a good feeling. Sort of like the good old college days of walking out of your last final. Right now I am in the throngs of laundry, cleaning, errands, packing, and last minute crafting, but just wanted to share a couple quick pics of {part of} our nearly 3-year-old nephew's Christmas gift. This year we went all out with art supplies: easel + roll of paper, paints + brushes, markers, and a crayon wallet for on-the-go: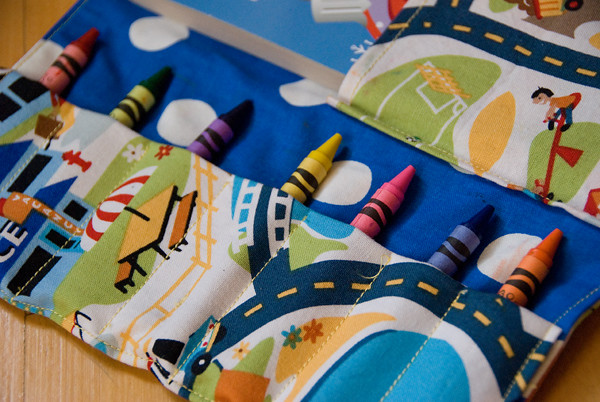
Are you Christmas crafting for the tiny tots in your life? If so, please share!
12.21.2010
christmas card wreath

In the mean time, the steady stream of cards from friends + fam arriving at our door are a complete and daily delight. I borrowed this idea from Martha & I love the finished product. I'd acquired quite a collection of embroidery hoops from the thrift store last summer, so this was an easy 5 minute project! Simply collect a large diameter hoop (mine was just 12"), hot glue gun, and mini clothespins. Glue the clothespins 1-2 inches apart, facing in alternating directions. (The majority of mine face outward, and a few point toward the center.) The result is a minimal, Scandinavian-looking wreath that adds maximum Christmas cheer to a wall near you. I've already run out of room on mine and am considering replicating the project on two smaller hoops...Wouldn't it look even better in a cluster of 3?

12.13.2010
how to host a craft party
1. If you build it, they will come. It's true. When I first posted an invitation for this party, I was a nervous wreck, thinking no one would show. But I learned that girls love a chance to get together, and they double love a chance to get creative when everything is spread out in front of them. So many of my friends say they wish they could be more crafty but don't have the time or inspiration. I shared a public invite both on facebook and this blog, hoping to meet some new crafty girls in the area and also share my love of crafting with some of my old in-real-life friends. In the end, I had such an overwhelming response that I had to turn some girls away. Stab me in the heart.
2. Plan, plan, plan. Even before sending out invites, plan what crafts you will to make. Not only will this step provide for a great teaser in the invite ("We'll be making X, Y, and Zs!!"), you'll also have more time to fine tune everything as the party approaches. Take inventory of the supplies you already have and make lists of the supplies you need to gather.
3. Time it. Be realistic about time frame. One project may take the entire duration of the party. Or teach your guests a smattering of techniques with 3-5 simple projects to fill the afternoon. Whatever you do, time yourself as you make each sample in order to guesstimate how long to schedule the party or when to quit coming up with more and more projects. (Ahem, super guilty here.)
4. Details. Don't forget about tools. This was an afterthought for me and I scrambled the day before asking people to bring extra scissors and paper punches. I was buying needles and tape and asking guests to sharpen pencils at the last minute. Tools are just as important as the craft supplies themselves and although we're all grown-ups, let's face it; in this case, the less sharing the better!
Do double duty with party favors and set out bags labeled with each guest's name so there is a space for her to put finished crafts throughout the party and a handy way to tote home her spoils.
5. Don't break the bank. Don't be afraid to ask your guests to bring a small amount of cash to share in the cost of supplies. I've never known a craft party without a supply fee (at least when the hostess is providing supplies). Another reason it's so important to determine the projects before sending out the invite is so that you can set a realistic budget and a realistic amount to pass on to each guest. I'll be completely honest here and say that my party did cost more than $10/person. But my intention was not to break even, it was only to avoid breaking the bank.
6. Be firm on numbers. I cannot, repeat, cannot stress this enough. Can I be frank with you? I had a lot of unnecessary anxiety over the guest list. Here's why: I specifically asked everyone to RSVP asap, but received a ton of maybes. When planning this sort of party, it's really difficult to work with all of the maybes in the crowd. {No offense to anyone in this boat!} I 100% understand that life is unpredictable, but I urge you to make it a clear expectation that your guests commit. Tell them you need to have a firm number in order to buy the proper amount of supplies. Next time I am seriously considering collecting everyone's supply fee in advance via Paypal, just so that they are less likely to flake.
Also in this vein,
7. Know your limits. Have a maximum number of guests your home/venue can hold and don't go over it. If the party is too crowded to craft the fun factor will go down. I set my magic number at 20 and had to start a waiting list at this point. After a bunch of last minute cancellations, I believe the final head count was 16. I think that was a perfect number for my house. Why did I invite so many people that I ended up saying no?? Because I didn't want to be exclusive. I wanted to open it up to anyone and everyone who was interested in this sort of thing. The best part about craft parties is that they can be big or small. For a close circle of friends or for everyone in your social network. Know what is manageable for you and your life!
8. Map out your house. This is also key. Each separate craft should have a designated station. What rooms/areas would make good work spaces? Plan which crafts can be done on laps and which crafts require tables and chairs. Keep messy projects near a sink. Put projects that may take the most time in a large room and smaller-scale projects in a smaller area. If there is a two-part project, keep both stations adjacent to one another. That is one huge mistake I made. We made yarn wreaths, decorated with felt flowers. Half of the girls finished the yarn ring all at once and were wanting to learn the felt flowers. I had put the flower project in the smallest room with the least amount of workspace. Somehow I hadn't anticipated that people would spend as much time as they did crafting these to beautifully decorate their wreaths. People were sitting on the floor, tracing on the walls, and bumping into each other left and right. {And what dearies, they weren't even complaining!}
9. Feed them! I know this is basic, but I just want to say keep it simple here. One great way to keep party costs down is to ask guests to bring treats to share. I turned my party into half craft making, half Christmas cookie swapping. The spread was amazing--way better than I ever could have done by myself. It was so fun to sample everyone's baking talent. All I had to worry about was drinks! It's also important to consider that you'll be spending tons of time the day before cleaning your house and setting up your crafts, and the last thing you need to fret over is food.
10. Enjoy yourself. Face it, you can't be all things to all people. You can't individually teach every guest every project, or hold lengthy personal conversations with everyone. That's why for large-scaled craft parties or for varied skill levels, make certain that you are not the only one who knows what the heck is going on. (i.e. delegate.) I asked a few of my craftiest friends to arrive early so that I give them a brief run-down of all the projects. My sil kept the coffee brewing and felt free to mix & mingle. It was wonderful. Like growing extra sets of hands and eyes. I was able to relax and chat a whole lot more because I knew there were plenty of friendly resources bouncing throughout the house. It's also helpful to create multiple samples (if you have time!) of each project to not only present the basic concept but inspire variations on a theme.
*****
Wow, so much for short. I really hope this is helpful!
I'd love to turn the comments into somewhat of a forum. I want to hear your feedback, questions, or advice on any area I missed! Also, please feel free to share links to your own craft parties past or present here!!
12.09.2010
water for africa
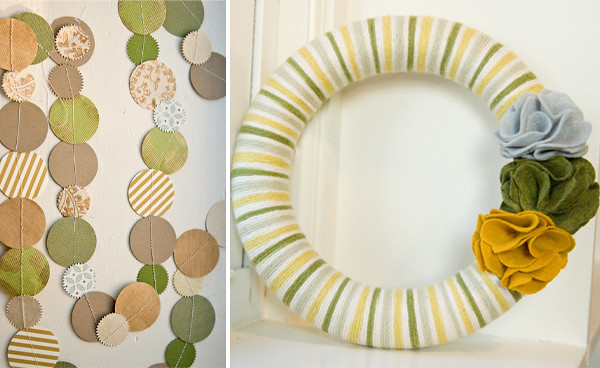
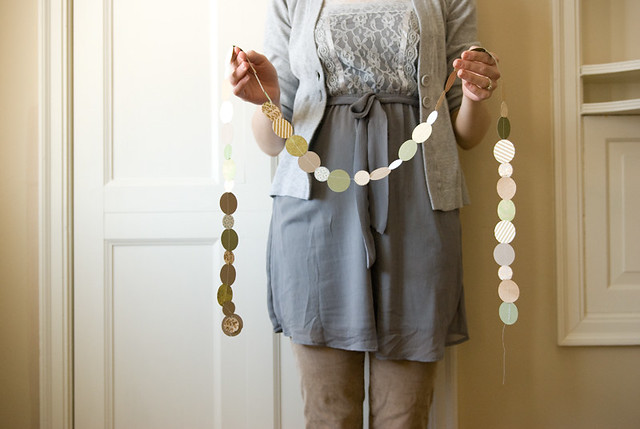
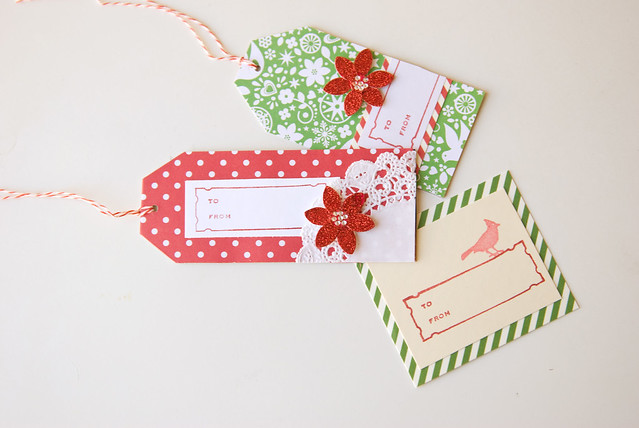
I feel blessed to have contributed a few crafts to the cause. Purchase my gift tags, paper garland, and yarn wreath--if not for the craft, for the cause. If you know of any other charitable crafting going on this year, please do share a link below!
***
Last call to enter this week's giveaway. Winner announced tomorrow!
12.07.2010
christmas crafternoon {part 2.}
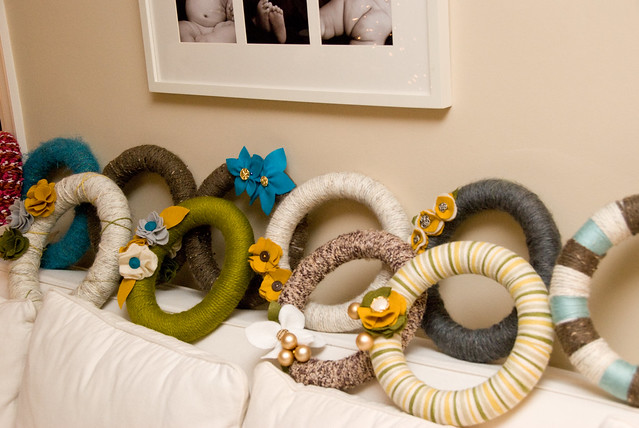
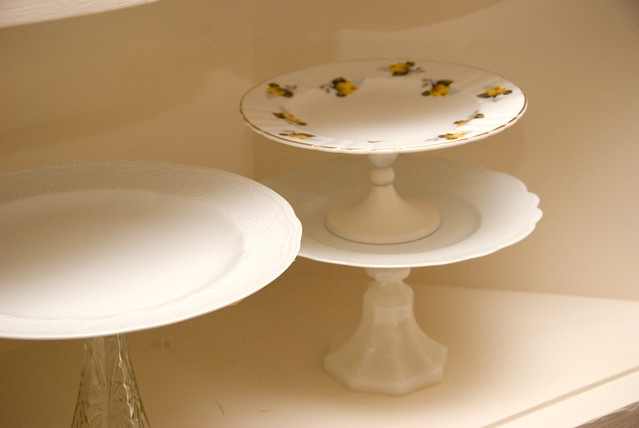
Thanks so much for saying such nice things yesterday. I've been itching to share some of the finished projects from the Christmas craft party. I can't even begin to tell you how fun it was to see everyone's projects come together. So proud of these girls! Before I begin, I should mention that I tried to give credit to the inspirations for each project. {Speaking of which--I completely forgot to give the biggest credit where it is due...Much of this party was modeled after this amazing friend's! I'd like to be her when I grow up.} Also, I would consider blogging more in-depth tutorials for specific projects, if there is interest. Just let me know in the comments. :)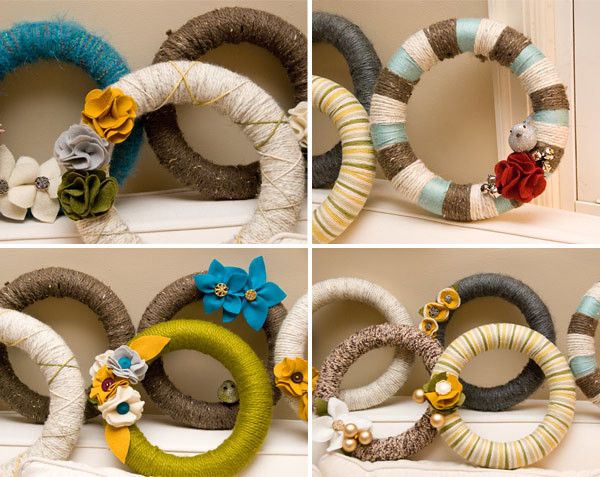


*****
Edit: See more finished projects from some of my favorite blog girls in attendance!Naphtali | On Second Street
Olivia | the Saturated Palette
Amanda | Project Simple Life
12.06.2010
christmas crafternoon {part 1.}
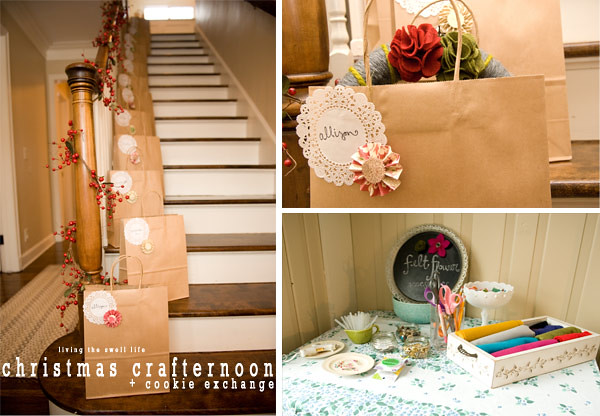
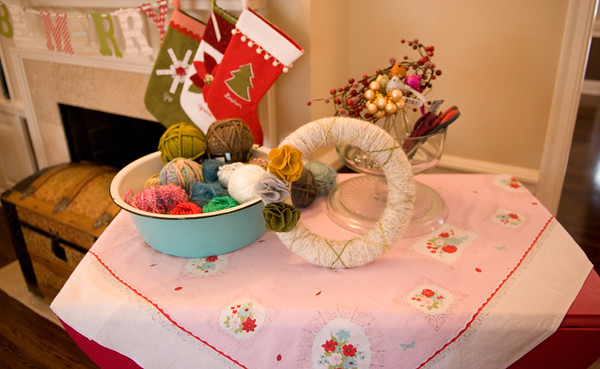
*I asked everyone to bring a batch of her favorite Christmas cookies, plus 10$ to share in the cost of supplies. I might have had a melt-down if I felt pressured to prepare a huge spread of food on top of the crafts. Having everyone bring treats to swap was both fun and stress-less!
*I set up 5 different stations around our house, each with a different project. {More details on the projects tomorrow!} At each table, I had a finished sample, all the supplies necessary for the project, plus a few options for creative variations. At first, I felt a bit nervous about being in 5 places at once to offer explanations and troubleshooting, but everyone helped everyone and it magically all came together. {I have the sweetest friends!}
*For practicality, I was armed with a brown paper bag with each girl's name on it, so they'd have a place to stash their finished products as they moved throughout the house.
*I also made little paper ornaments as party favors for each guest & tied them around the brown bag handles to add a little flair. Nothing like killing 2 birds with one stone. {What a morbid phrase.}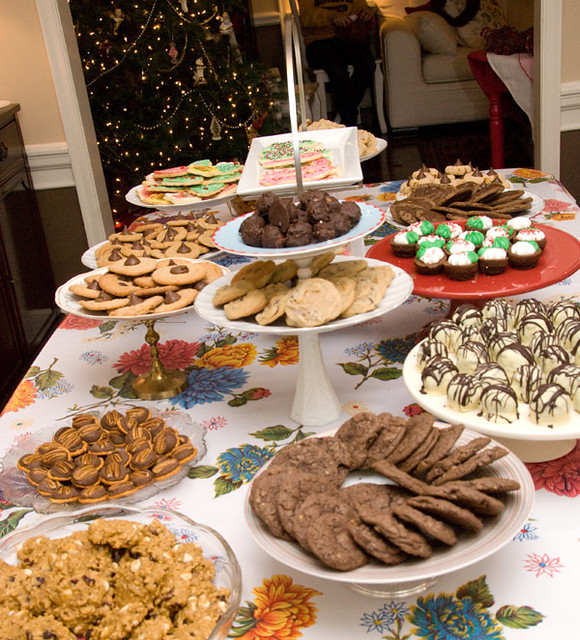
See part 2: finished products!


Subscribe to:
Posts (Atom)


