
 Around Valentine's Day, I shared this little felt flower tutorial on Little Birdie Secrets. I thought it merited an encore presentation here on my own blog, because its concept translates so well to pretty much any project! I ended up placing this flower on my vintagey pillow, but it would look equally fab on a headband, brooch, or purse--in felt or fabric form.
 Step 1 |
Supplies:
*Felt (I love wool felt, but any sort of felt will do. I choose two different colors to help create more depth.)
*Fabric scissors
*Felt tip pen or fabric marker
*Needle & thread (I choose a slightly lighter color so it would be more visible in photos.)
*Chipboard for flower pattern
*Buttons, if desired
To create the flower pattern, you can either download and print the image, or go ahead and free-hand your own. C'mon you can do it! My flower is approximately 2.5" in diameter
Step 2 |
Trace pattern onto felt, repeat x5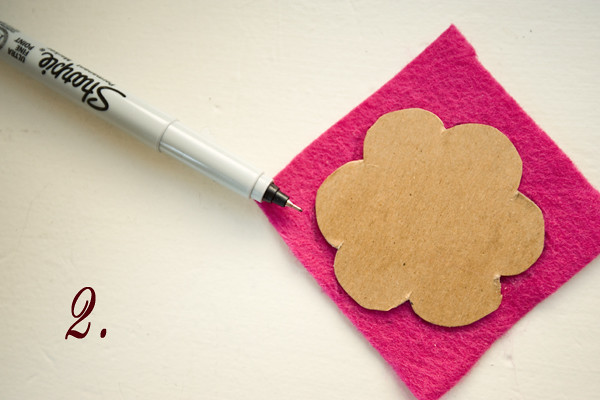 Step 3 |
Cut flowers. Note: I prefer to skip step 2 and to simply hold my pattern on the felt as I cut around. Felt is somewhat stiff and easy to work with, so this works well. You'll also avoid pen marks on your edges.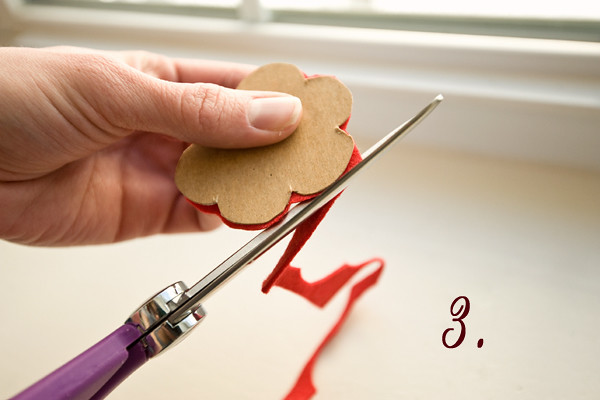 Steps 4 & 5 |
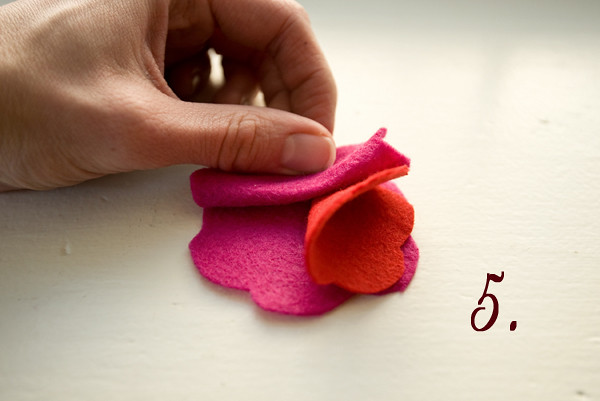
Lay one flower down as a base. Fold remaining 4 flowers in half and pile on top of one another so that you have four quarters sticking out.
 Step 6 |
Double up the thread on your needle and you're ready to sew! Begin at the center and make several stitches until you've caught all 4 quarters. 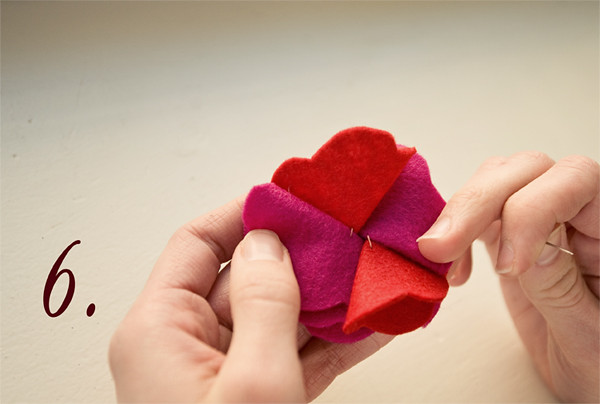 Step 7 |
To help ruffle your rose, peel back some of the inner layers and make additional stitches at center to help sculpt the petals into different, more upright directions. Note: If this seems too abstract or confusing--don't fret, you can skip this step also!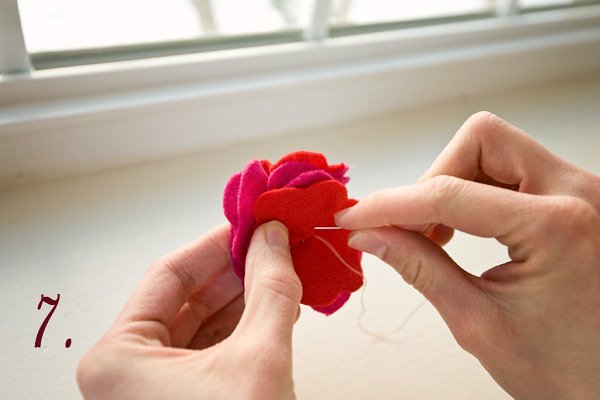 Step 8 |
You've got a finished rose! The plain look is very sophisticated, however if you wish to add a button...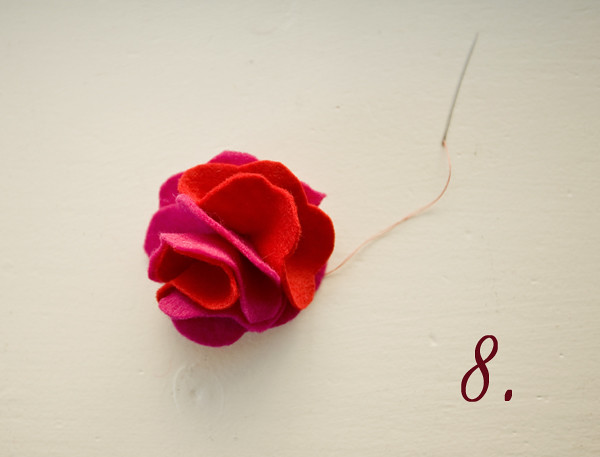 Step 9 |
Continue using the same strand of thread to sew a fancy button of your choice to the center.  Ta-da! Now that you've rocked the ruffled rose, go crazy and experiment with different fabrics, sizes, and functions!
**Don't forget, the latest giveaway ends tomorrow!!
4.18.2011
rewind: felt flower tutorial
![]()

Subscribe to:
Post Comments (Atom)


2 comments:
very cute! i especially like the groovy vintage button.
I meant to ask you for this pattern when I was up last week! I couldn't remember quite how to recreate that magic...so I'm uber grateful for this tutorial! :)
London's right...that button is beyond groovy.
Post a Comment